
Defender Exclusion Tool のスクリーンショット
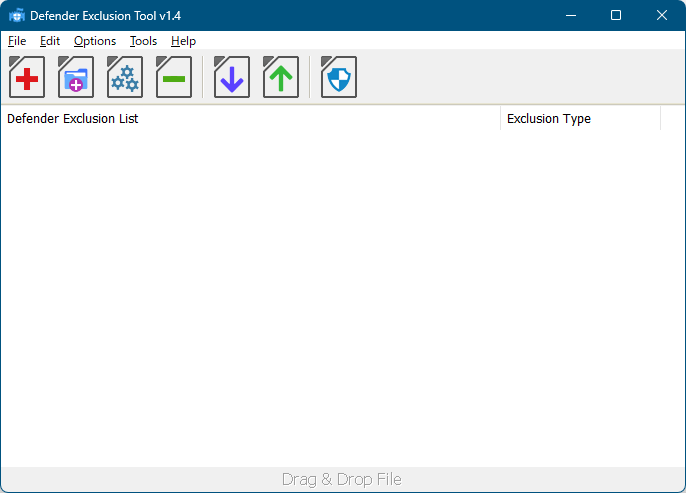
<1> Defender Exclusion Tool - メイン画面
<2> 除外設定を追加

<3> 除外設定を確認するためにスキャンする

<4> スキャン結果

<5> スキャン結果の通知

<6> 右クリックメニューへ追加する

<7> 右クリックメニューから除外設定を行う

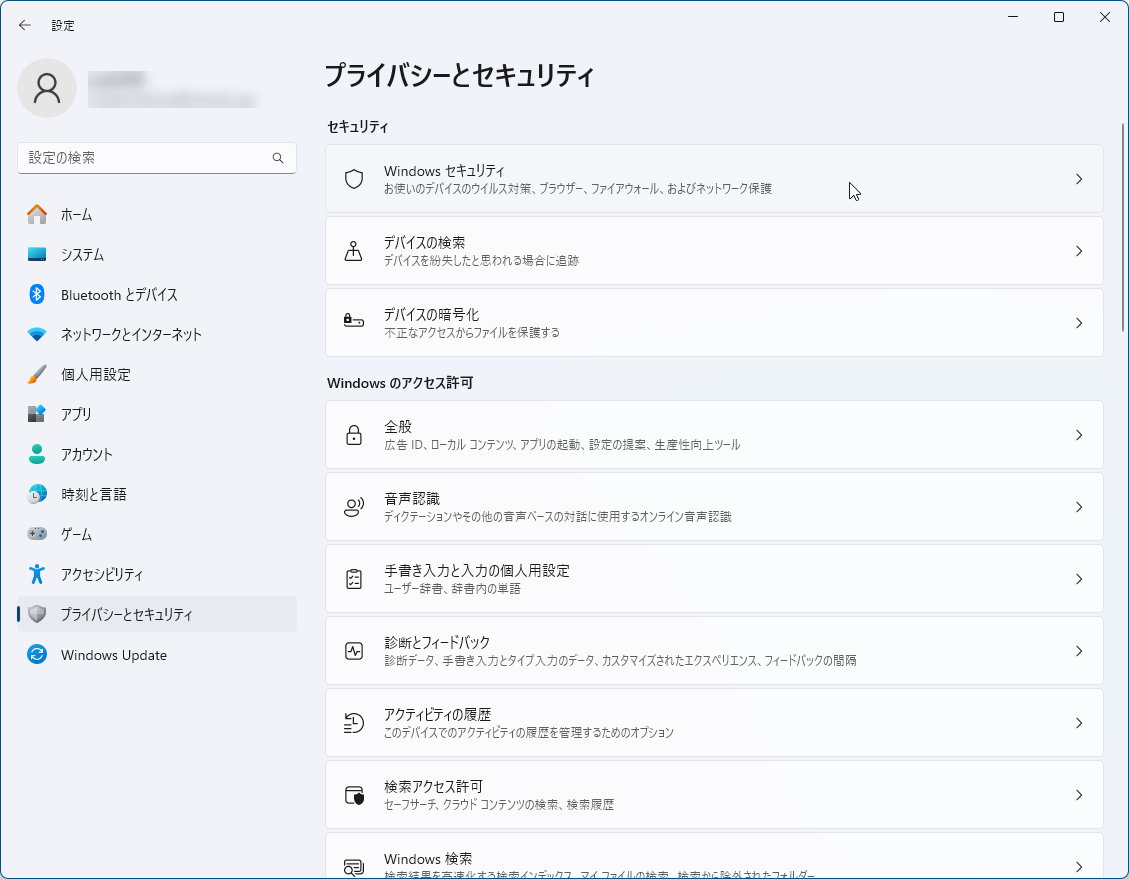
<8> 通常の除外設定手順1 - 設定画面

<9> 通常の除外設定手順2 - Windows Update
<10> 通常の除外設定手順3 - Windows セキュリティ

<11> 通常の除外設定手順4 - セキュリティの概要

<12> 通常の除外設定手順5 - ウイルスと脅威の防止
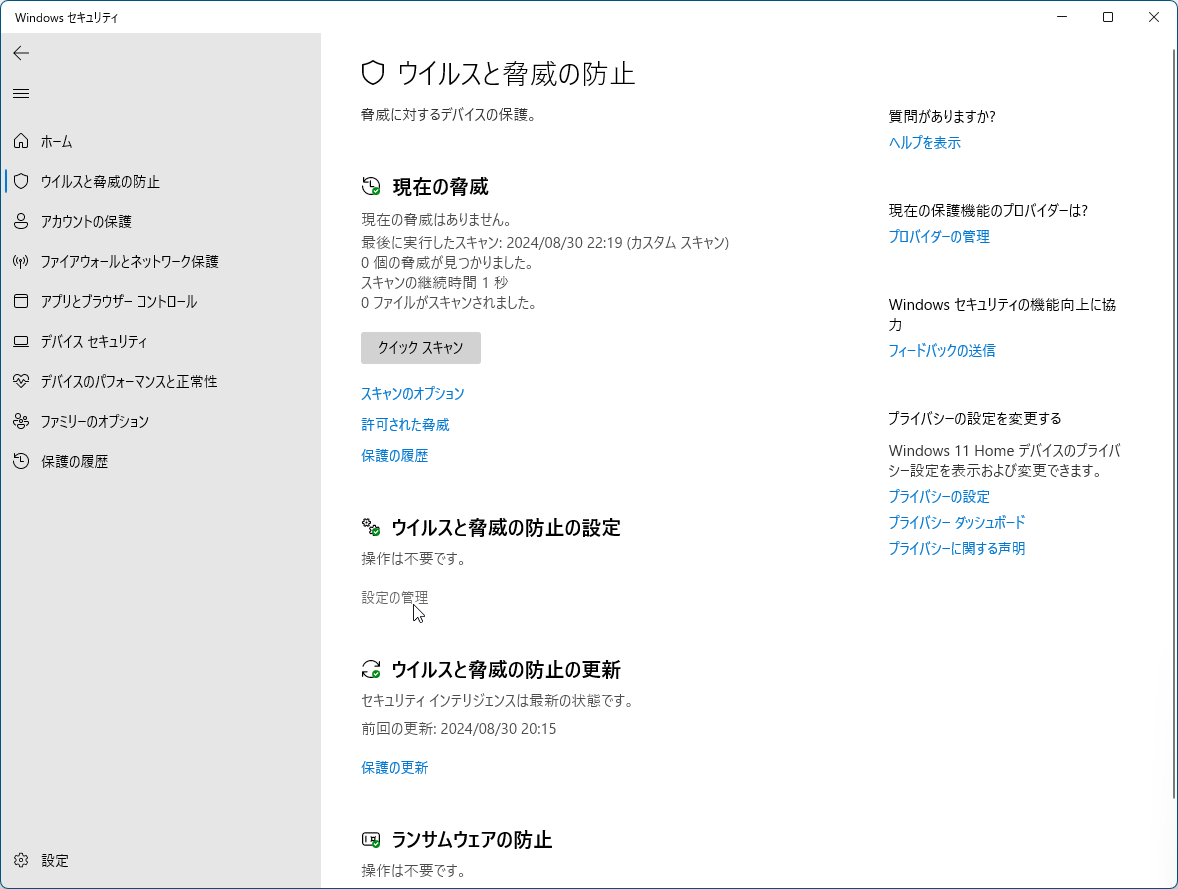
<13> 通常の除外設定手順6 - ウイルスと脅威の防止の設定

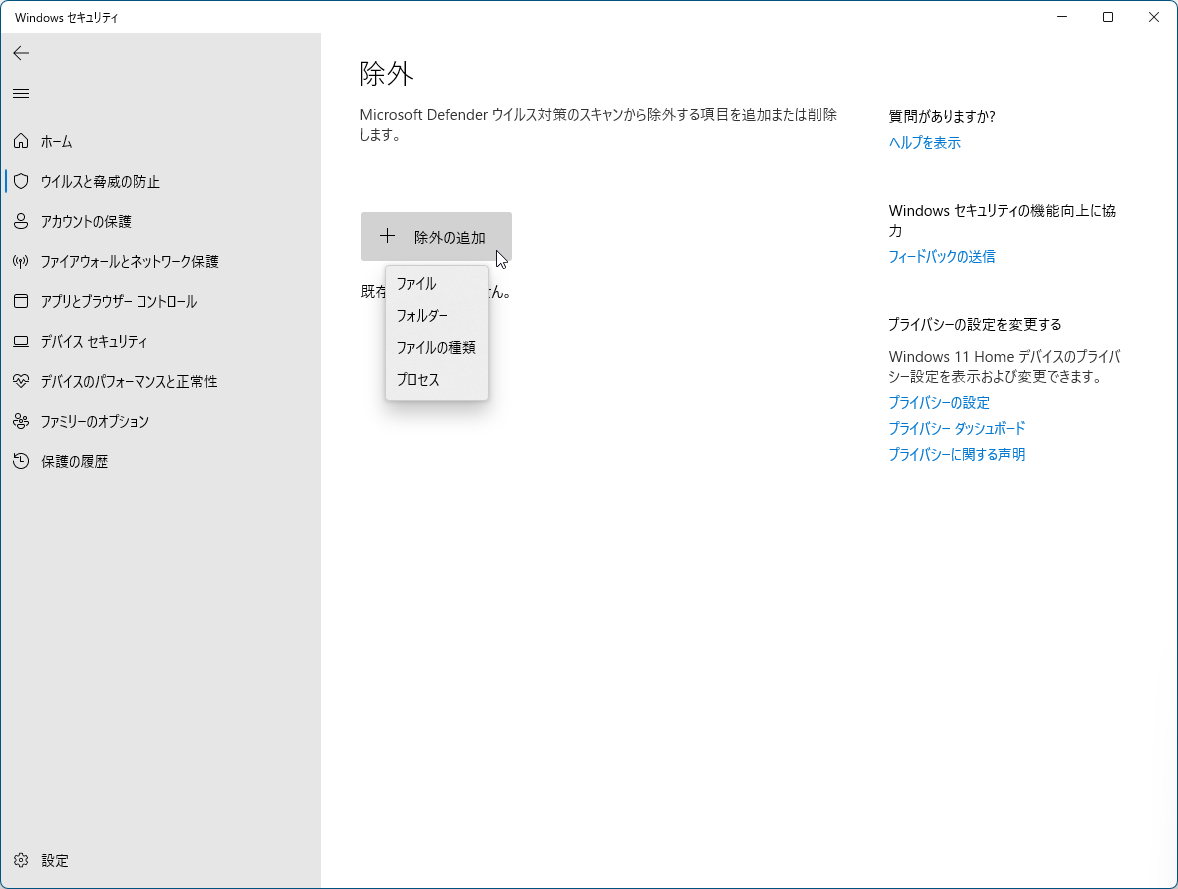
<14> 通常の除外設定手順7 - 除外
<15> 掲載しているスクリーンショットのバージョン情報

